Rig Work . . .
Jan and I headed out for brunch at our favorite SnoozeAM a little before 1pm. Jan got her BRAVOCADO Toast with scrambled eggs and dressed greens,
while I got the Classic 3 Egg Breakfast with Bacon, Fruit, and an English Muffin.
Then it was on to WalMart for a few things. And, as has been our habit recently, we stopped off at the Pharmacy to see if they had gotten any more Shingrix Shingles vaccine. We were already on the call list, but we lucked up this time and we were able to get our second and final shots. Glad to have that out of the way.
This past Sunday I finally got a chance to get outside and catch up some chores. First up was to finish upgrading our rig’s windshield wipers.
The rig originally came with 26” Denso wipers and that’s what I used to replace them with after our first year. But then, after that, I found that Denso no longer made the ones that fit our wiper arms. So I improvised something, but it was a pain in the butt.
The new style were only set up for the ‘J’ hook arms, and my arms were configured so that the wipers fit between the flanges with a bolt passing through to secure the blades.
But the new blades were wider and didn’t have a hole for the bolt, so every year I had to heavily modify the wipers by removing the ‘J’ hook mount and then drilling a hole through, which was not easy in this hardened steel frame.
It also didn’t help that the new blades were wider so they didn’t really fit between the arm flanges.
Then a few weeks ago, when I was buying new Rain-X blades for the truck, I noticed that these blades not only had the ‘J’ hook mount, but also had a hole for the pivot type of mount.
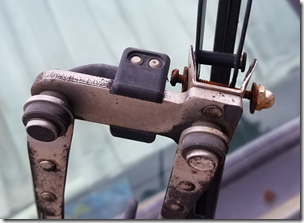
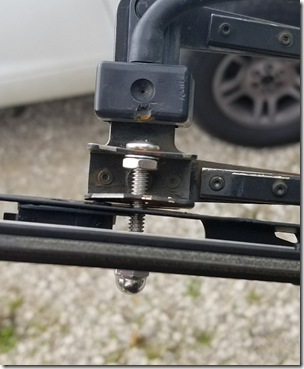
So getting some new hardware, I came up with this mounting system, which will now only take me a couple of minutes next time to replace the blades.
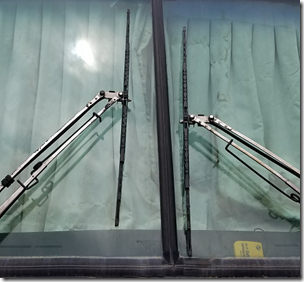
I also upgraded the arms from 26” to 28” ones, giving me this.
And no, there’s not a problem with the arm on the right side. Due to the way the articulated arms work, that side is always lower.
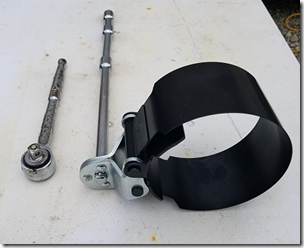
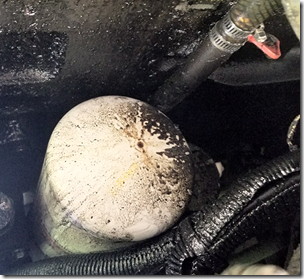
Feeling I was on a roll, I decided to crawl under the rig and do a trial loosening of the rig’s oil filter. So I dug out my filter wrench, extensions, and ratchet handle, and gave it a go.
This is what it looks like from underneath.
Fitting my wrench around the filter, I tried to loosen it. I was happy to see that it wasn’t loose and took some effort to break free. But once that was done I decided to keep unscrewing it see how it came it acted. And then suddenly it was free in my hand.
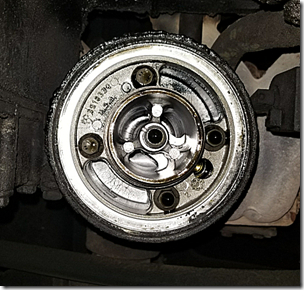
So now what to do? I hadn’t really planned for this so I tried to just screw it back in. But trying for about 5 minutes I was unsuccessful. Due to the electrical cables running besides filter, I really couldn’t get it lined up and started.
So I carefully pulled the filter out from under the rig with me so I didn’t spill the oil inside. Then I crawled back under and stuffed a shop rag up into the mount to keep it clean.
When I’m ready to install the new filter, hopefully this weekend, I’ll use some large Tie Wraps to temporarily hold the cables out of the way.
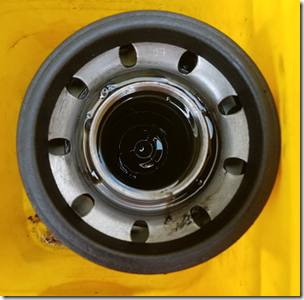
Grabbing a bucket I propped up the filter and took a look.
There was no obvious damage that I could see, even when I pulled off the black gasket ring. I all looked OK. But then the problem is supposed to be debris on the mount, and not the filter. At least according to Cummins.
I’ll know more this weekend, I guess.
Thought for the Day:
Isn’t making a smoking section in a restaurant like making a peeing section in a swimming pool?
fgjhh


