Lights and Sheets . . .
Another quiet day, even apparently for the frack up the road. The water guys weren’t around, the frack pond pumps weren’t running, and the big blue hose was flat.
Since they just started fracking last Monday, I doubt they’re finished up, but probably just switching over to the second hole. Neither of these wells are as deep as any of our three were, so they might possibly be finished up next week.
Other than that, we had some tankers coming in hauling out water, and some other trucks hauling out some other stuff.
Later in the afternoon, I started filling our water tank from the well hose. I tried hooking up the hose directly to the rig, but with only about 20psi, it didn’t work out very well. So every week or so I just fill up our 500 gallon tank. Of course with the low pressure it takes two to three hours to top it off.
I’ve noticed a number of ya’ll still buying the Striped QUEEN Sateen Sheet Sets we mentioned a while back. We came across these a year or so ago and bought two sets.
They’re still very soft, with no pilling or wearing, and they still look great. They come in 9 different colors, and even better, they’re inexpensive (cheap). Only about $25 per set.
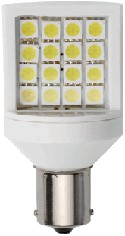
Several readers had asked me about how I liked the new Camco Bright White Light LED Bulb that I got for our shower after the old one burned out and blew a fuse.
After a little over a month it’s still working great. One thing I’ve noticed about this one is that there’s been no fade. Many LED lights, especially cheaper ones, tend to dim noticeably during the first few months. But I measured the output of this one when I first installed it, and then again a couple of days ago, and found no discernable difference. The same goes for the LED Strip Lights that I use as fluorescent bulb replacements.
And speaking of the LED strips, I mentioned a couple of days ago that I was going to use these strips to replace the 4ft fluorescent tubes in our kitchen when they died.
And of course, today they did die. At least one of them did, and they won’t work with just one bulb. So I dug into my storage bin and discovered I only had five strips.
I decided to do just a quick and dirty hookup until I could get some more strips. I had planned to use four on each side, but five would have to do for now.
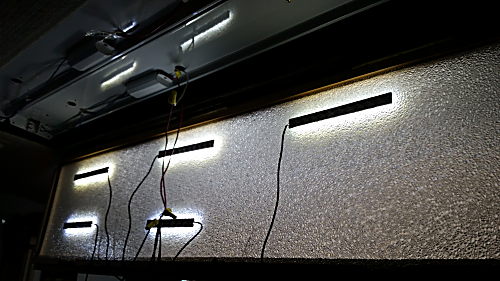
After cutting the 12v wires going into the ballast, I wired up the strips using wire nuts. Like I said, quick and dirty.
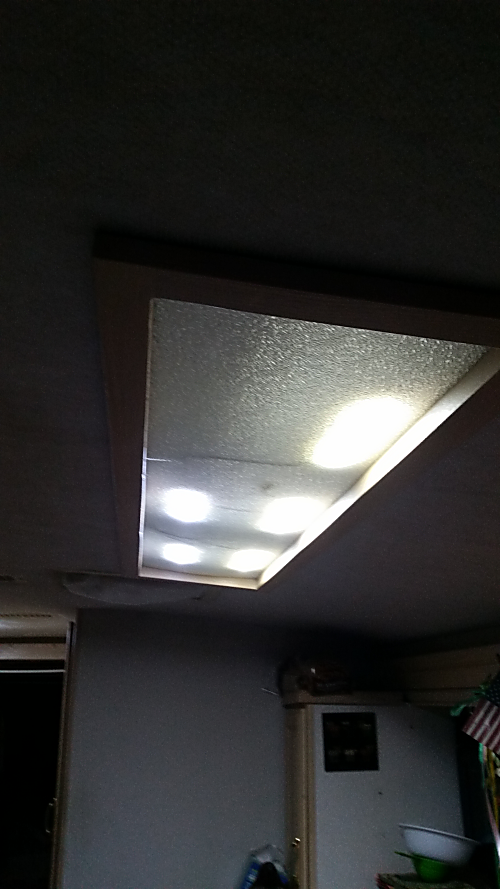
I then used clear packing tape to fasten them to the diffuser panel. And when it was all closed up, it looked like this.
Based on the light output, the five strips shown here are brighter than the tubes they replaced. So I’ll just add one more strip when I get some more in. Although the point source effect of the lights doesn’t bother Jan or I, when I get the new one, I’ll stick them to the top of the fixture using the furnished adhesive tape, which should diffuse the light even more.
I didn’t get to my laptop repair today because I couldn’t find one of my two soldering irons. I did find both of my soldering guns, but they’re too big for this fine work. I guess they must both be out in one of the bays, so that’s where I’ll look tomorrow.
______________________________________________________
Thought for the Day:
Dumbest question, “Where did you lose it?”
fgasdfgsdfg


