Not Even For Special Occasions?
or It’s Alive!
Well, it started raining yesterday and it’s still raining today. And it’s supposed to rain tomorrow and the next day. But if we had to have a lot of rain this is probably the best way to have it. Just a steady, light to medium downpour, with no wind.
And even better, we stayed inside pretty much all day since we had almost no traffic. Jan did stay outside for part of the morning, just knowing that the long-fabled Flowback crew was going to start coming in today. But she gave up after a while and came in where it was dry.
While we were having a lunch of Jan’s delicious homemade Pimento Cheese and fresh sliced tomato sandwiches, I suddenly had a thought about how to fix my problem with the new charger port on my ASUS laptop.
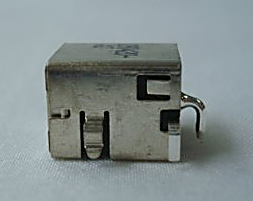
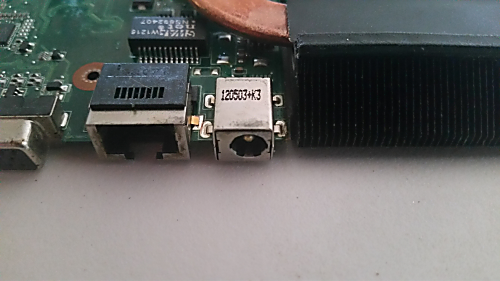
As I mentioned a few days ago, after I got my laptop disassembled and the old charger port unsoldered, I discovered that the new, supposedly OEM, replacement did not fit. The leads themselves were too big to fit in the circuit board holes, and, in addition, did not match up with the holes either. So I did what usually works for me. I just put it all aside and didn’t think about it. And today the solution popped into my mind.
I didn’t need to solder all five leads to the the board. I only needed two, power and ground. I checked the new port with my ohmmeter, and as I had hoped, the power from the center pin came out the lead at the back of the charger port.
The other four leads and the case were all grounds. So I snipped off the four ground leads flush with the bottom of the port, fastened the port to the circuit board with a drop of Super Glue, and then soldered the single rear lead into place. The rear lead was always the correct size so this wasn’t a problem.
Then I soldered a small piece of wire from the case to one of the ground pin holes, and it was done.
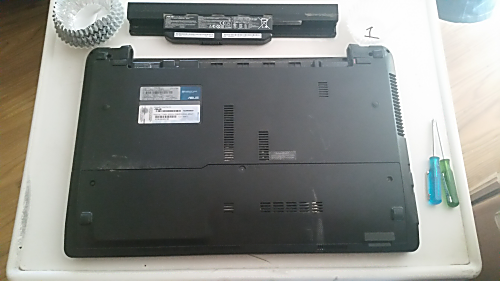
To recap, here’s how I took the laptop apart.
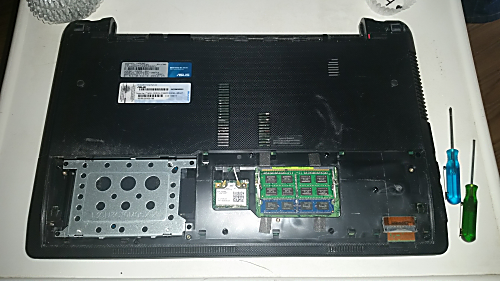
Above on the left is the hard drive, in the center is the Wi-Fi chip, and the green boards are the system memory.
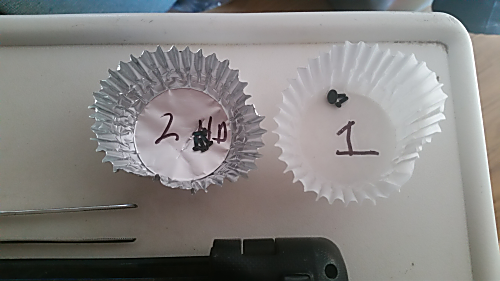
I use cupcake papers to hold the screws for each step, and label them as I go.
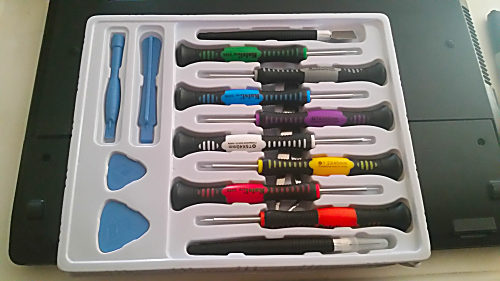
I also have this set of tools for the small or weird screws. It also has the plastic ‘splugers’ that are very useful for prying things apart without scratching or breaking them. A great deal for less than $7.
Kaisi 16-Piece Precision Screwdriver Set
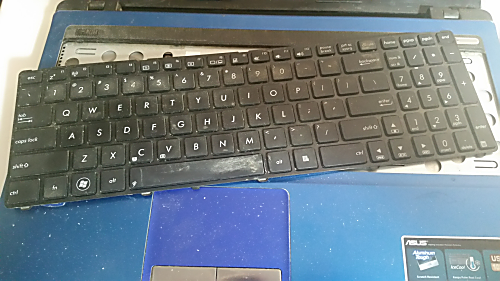
The keyboard now just pops out.
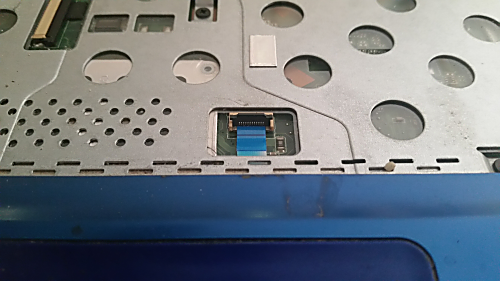
There are a number of these small ribbon cables that must be unlocked and carefully removed from the socket.
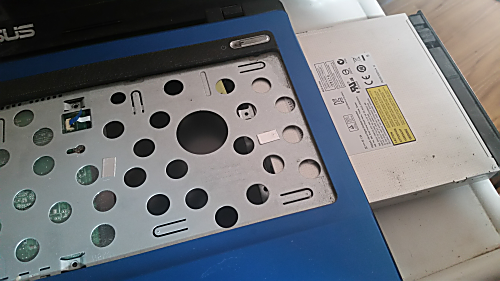
One more screw lets you remove the DVD drive.
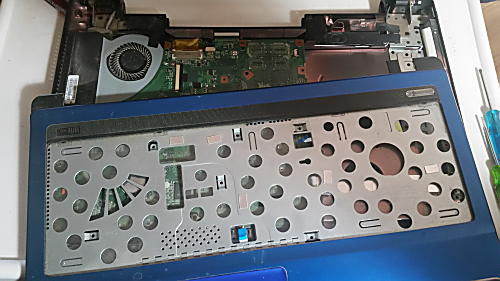
At this point the top of the computer can just be popped off,
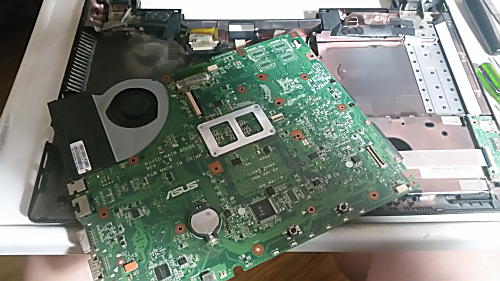
and seven screws later, the motherboard comes out.
And finally the culprit is revealed.
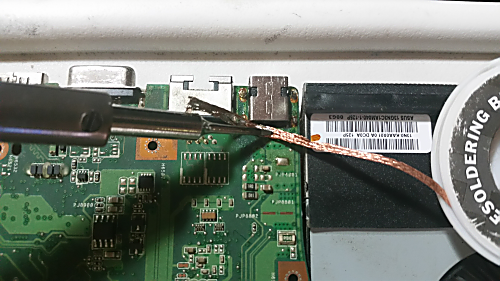
Here I’m using the solder wick to ‘wick’ the solder from the joints to remove the old port.
And this is pretty much where I left things until today when I figured out how to make it work.
About 45 minutes after I soldered in the new charger port, I had it all back together.
And now for the moment of truth, i.e. the ‘magic smoke test’. Because everyone knows if you let the ‘magic smoke’ out of a piece of electronic gear, it won’t work anymore.
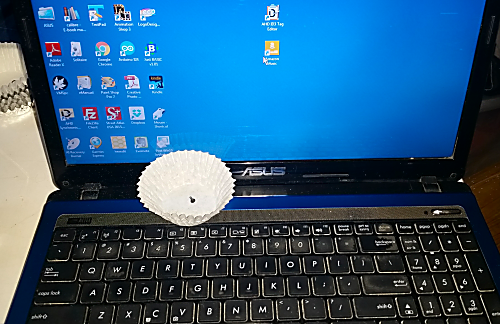
So holding my breath, I pushed the power button . . . and no magic smoke. Instead it started booting up. And a minute or so later I was looking at my desktop.
And note in this photo, I have the obligatory one screw left over. As they say, if you don’t have parts left over, you didn’t do it right.
As least that’s what I say.
After checking things over, like the keyboard, sound, Wi-Fi, and the touchpad, it was time for the final test.
And after plugging in the charger cord, I now had a charge light.
It’s Alive!
That done, I took the rest of the afternoon off. It’s not like I was really planning to do anything else, but I took it off anyway.
Later I came across this product on Facebook, and asked Jan what she would think about me doing this for Christmas.
“NO”
“Not even for special occasions?”
‘NO”
Party Pooper!
______________________________________________________
Thought for the Day:
Reduce the Stupid
Tomorrow we’ll talk about the dangers of DiHydrogen Monoxide
asdfasdf


