If The Tongue Is Blue . . .
Jan and I headed out for her pet-sitting job up in Katy about 2pm, with a short stop-over at the Tuesday Morning in Webster for Christmas cards. Jan’s always found that they have high-end cards at discount prices, so that’s her go-to place.
She’s planning on using her time at Brandi’s to get them all done.
We did make a quick stop at the nearby Mason Rd. El Pollo Loco so Jan could pick up a couple of meals for her dinners while she’s there.
I dropped Jan off at Brandi’s a little after 4pm and got right back on the road down to Santa Fe, hoping to stay ahead of all the going-home traffic, and it worked. Getting back to this area, I did make a Denny’s dinner stop for breakfast. Good as always.
The car service will pick up Brandi, Lowell, and Landon about 7:15am tomorrow, after already getting Chantelle, Eric, and Maddox, and they’ve got already their evening planned at Disney World when they get there.
They’ll be back sometime Monday and I’ll get Jan back Monday afternoon. Already can’t wait.
Once I used the 10/07/2018 System Image Backup I made for our Asus laptop, rather than the more recent 11/23/18 version, the copying of the image back to the new hard drive went through with no further problems. Guess it must have had a glitch somewhere because I tried it 3 times. And when I got up this morning, the laptop had booted up into Win7 on the new drive, with all the files seemingly intact.
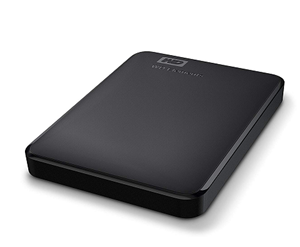
Doing a System Image on either Win7 or Win10 is really pretty easy. You do have to have somewhere to copy the image to, like one of these 2TB WD External Drives.
About the size of a deck of cards, you can also get them in a 4TB size. Or even 8TB in a slightly larger format.
Then just plug the drive into a USB port, preferably a USB 3.0 one, which is 10X faster, select Backup and Restore from the Control Panel, and then click on ‘Create A System Image. Follow the prompts to select your external drive and you’re off and running.
You can tell which port on your computer is USB 3.0 by looking inside the receptacle. If the little ‘tongue’ is blue, it’s 3.0.
When you done with that, and this is your first System Image, insert a blank DVD into the DVD drive and click on ‘Create A System Repair Disk’. You will need this if you have to reinstall the System Image. You only need to do this one, and then just store it away.
I mentioned the other day when I first tried to do the reinstall, that I couldn’t find my Recovery DVD, and had to bring one home from work. Well I found mine, right in the laptop DVD drive where I left it. And forgot about it.
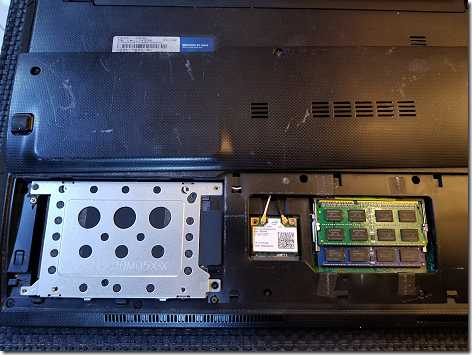
Changing out the HD was pretty simple. Two screws and the cover plate comes off the bottom of the laptop, revealing the HD, the WiFi module, and the system RAM chips.
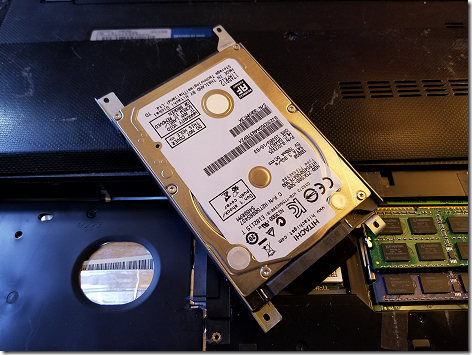
4 more screws and the HD rack is out,
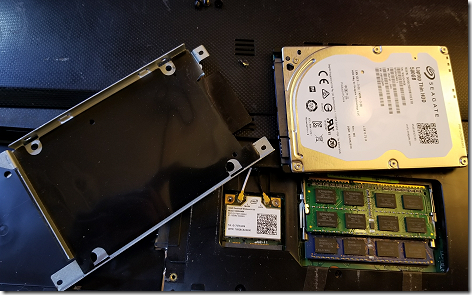
and then 4 more screws and the HD is out of the rack.
Then it’s just a matter of reversing the process with the new HD, and you’re done with this part.
Then boot to the Recovery DVD and you’re ready to go.
Let me know if you have any questions.
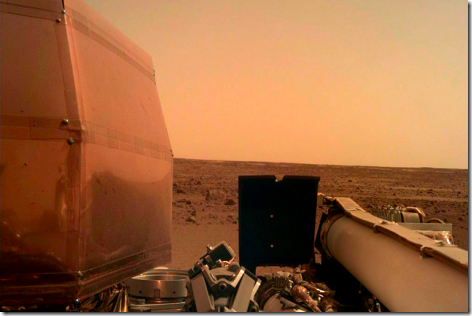
The Mars Insight Lander is working fine so far and sent back this ‘selfie’ as the first photo after the landing.
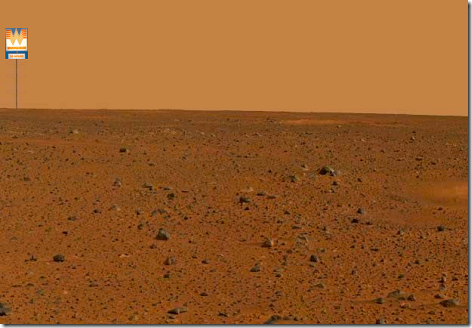
One commenter on a tech blog I read said it looked a lot like west Texas. I posted that it’s definitely not west Texas, otherwise it would look like this.
I had heard that they were expanding outside Texas, but I didn’t realize they were taking it this far.
Thought for the Day:
Pain makes you stronger. Tears make you braver. A broken heart makes you wiser, and Alcohol makes you not remember any of that crap.
fgs


